
Where Are Microsoft Teams Recordings Stored? All Possibilities Explained
No one wants hassle post-meeting. If you've ever struggled to find or organize your Teams recordings, we have all the information that you will ever need within this article.

Recording meetings in Microsoft Teams is crucial for keeping track of discussions, decisions, and action items, especially when working in remote or hybrid teams. But once the meeting ends, many users find themselves asking or wondering: "Where are Teams recordings stored?" In this article, we’ll break down how Microsoft Teams handles recordings, where to find them, and also how to manage your Teams recordings more efficiently.
Before diving into the standard Teams recording and storage process, let’s explore an alternative that simplifies organizing and recording your Teams meetings.
How to Simplify Teams Recordings with AI
For those looking for a seamless way to record, transcribe, and manage Microsoft Teams recordings, Bubbles is an ideal solution. Here’s how Bubbles can enhance your experience:
- Automatic Recording and Transcription: Bubbles joins your Teams meetings automatically if you connect your calendar during the signup process for the Bubbles App, or by invitation through pasting a meeting into into the Bubbles Chrome/Edge extension. Once joined, Bubbles Notetaker records the meeting, and gets to work on your Teams meeting transcription.
- Instant Summaries and Action Items: After the meeting ends, Bubbles processes the recording quickly and sends a follow-up email containing a summary of the meeting, personalized action items, and a link to your meeting recording and full transcription. You don’t have to wait hours for your recording, making it ideal for fast-paced work environments. Bubbles will send this email within minutes.
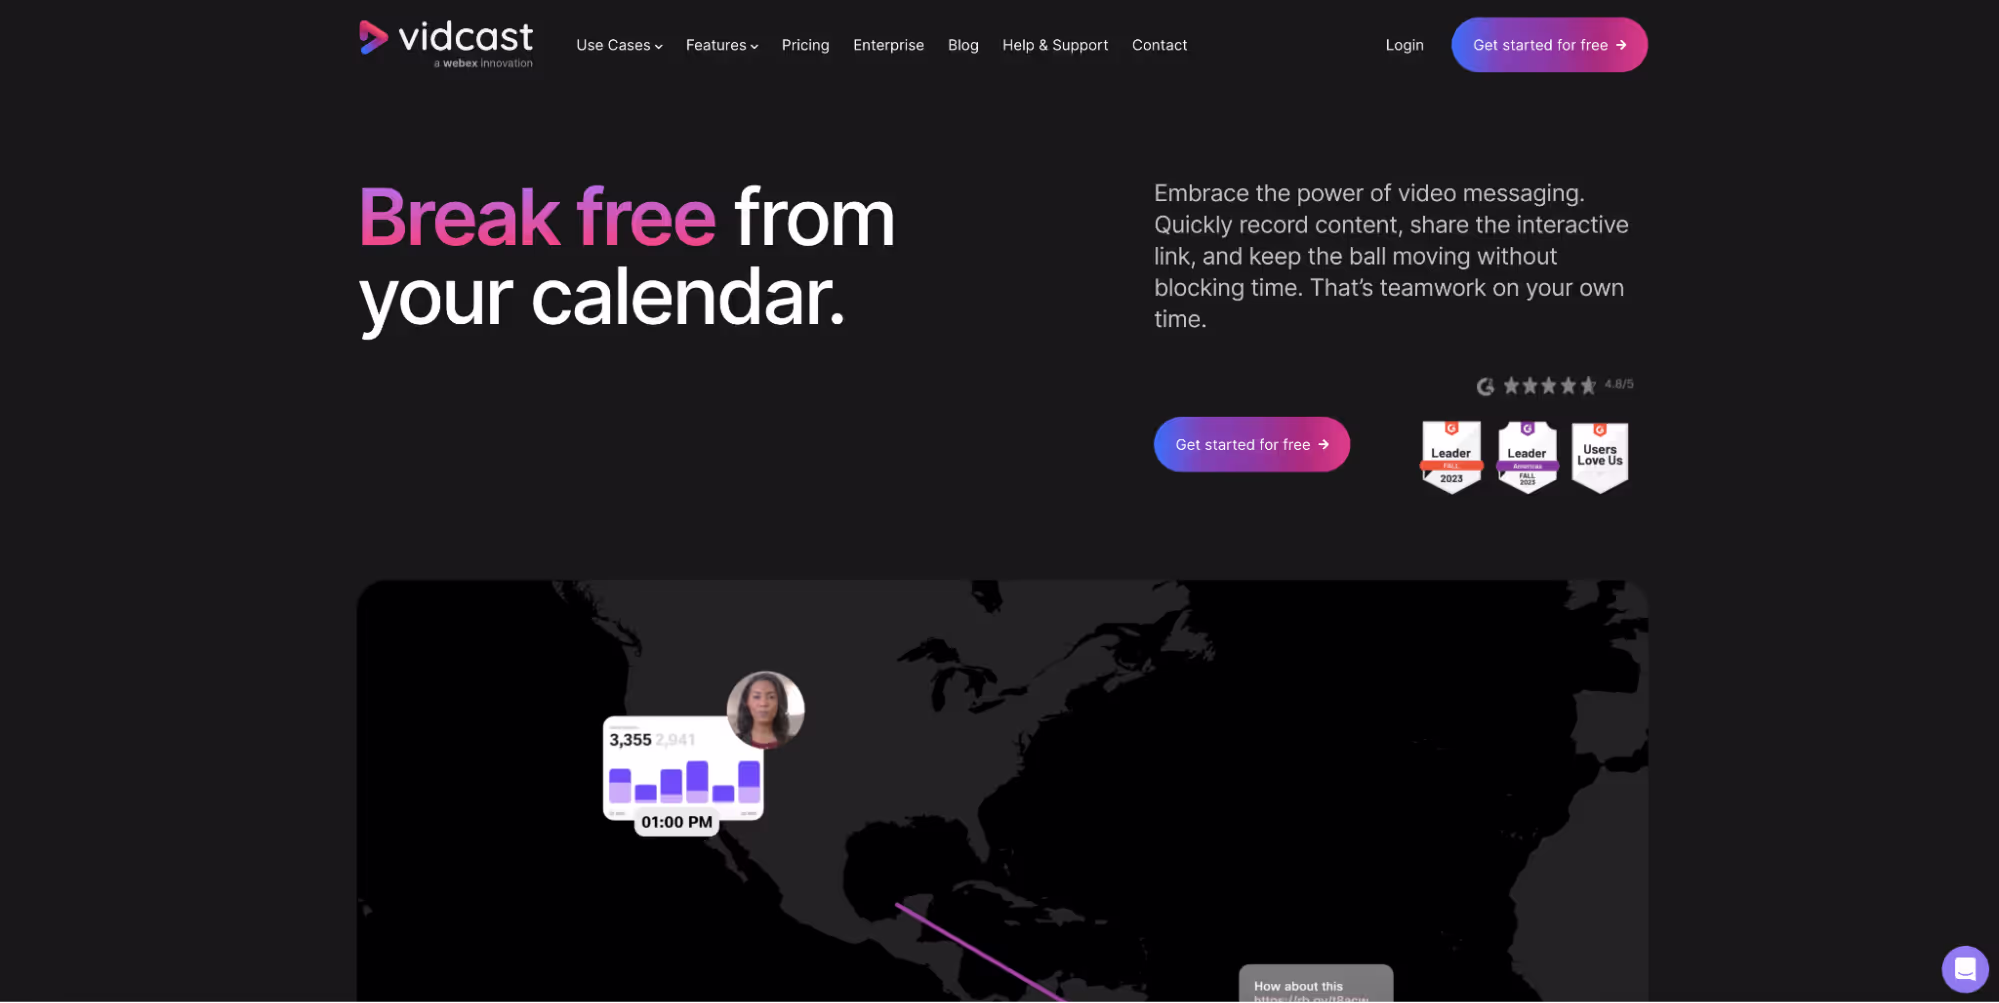
- Centralized Organization: Instead of hunting through OneDrive, SharePoint, or Teams chat, all your meeting recordings are organized within your Bubbles workspace. You can share, review, and collaborate on meetings with your team in one place, making Bubbles different to other AI meeting note takers. Here is an image that shows you exactly how this will look:

By using Bubbles, you can streamline your recording process and focus on what matters most—managing your meetings and collaborating effectively, as shown in this image:

Now, let's move on to how Microsoft Teams handles recordings natively.
Make your
meetings matter
Loved and trusted by 100,000+ users:
- Automatically Record and Transcribe Meetings
- Extremely Accurate Notes, Summaries, and Action Items powered by AI
- Works with Zoom, Google Meet, and Microsoft Teams
- Save time and follow-up with quick async videos
Simply connect your work Google or Microsoft Calendar to get started.

Where Are Microsoft Teams Recordings Stored?
Microsoft Teams stores its recordings in two primary locations, depending on the type of meeting:
- OneDrive for Non-Channel Meetings
- SharePoint for Channel Meetings
This switch from Microsoft Stream to OneDrive and SharePoint took place in early 2021. These new locations improve accessibility and collaboration for meeting recordings.
OneDrive for Non-Channel Meetings
For private or non-channel meetings, the Teams recording is saved directly to the OneDrive of the user who initiated the recording. This location does ensure that recordings are easily accessible and shareable, but again, you lose out on the possibility of working and collaborating directly within your meeting recording, like you are able to do on Bubbles.
Steps to Access Your Teams Recordings in OneDrive:
- Open OneDrive: Log into your OneDrive account.
- Find the Recordings Folder: Navigate to the "Recordings" folder, automatically created when you record your first Teams meeting.
- View or Download the Recording: Inside the folder, locate the meeting recording by date or title. From here, you can view or download the file to your device.
SharePoint for Channel Meetings
For meetings held within a specific Teams channel, recordings are stored in the SharePoint document library associated with that channel. All members of the channel will have access to the recording.
SharePoint Teams site documentation library, in a folder called Recordings. The folder name is in the format Teams name - Channel name/Documents/Recordings.
Steps to Access Your Teams Recordings in SharePoint:
- Open Microsoft Teams: Navigate to the appropriate channel in Teams.
- Go to the Files Tab: Click on the "Files" tab at the top of the channel.
- Open the Recordings Folder: In this section, you’ll find a folder labeled "Recordings" where all recorded meetings are stored. Locate the meeting recording by date or meeting name. FYI, the folder name here is in the format of: Teams name - Channel name/Documents/Recordings.
- Access and Share: You can view the recording, download it, or share it with others within or outside your organization.
Teams Meeting Recording Permissions and Access
One of the benefits of Teams recordings is the ability to control who can view, edit, and download the recordings. With Bubbles, you are in full control of who is able to view your meeting recordings, by creating channels or manually inviting members.
With Teams itself, you still have an element of control. Here’s how Teams permissions work:
- Organizer and Co-Organizer Access: The organizer or co-organizer of the meeting has editing rights for the recording. They can rename, move, or delete the file.
- Participants: Attendees invited to the meeting can access the recording through OneDrive or SharePoint but cannot make edits unless permissions are granted.
Managing Permissions:
- OneDrive: In OneDrive, you can modify sharing permissions by selecting the recording and clicking on the "Share" button. You can choose to share the recording with specific individuals or make it accessible to everyone in your organization.
- SharePoint: For channel meetings, permissions are automatically set to allow all channel members to view and download the recording. However, only the meeting organizer can make changes to the file.
How to Play, Download, and Share Teams Recordings
Now that you know where Teams recordings are stored, and have seen all of the best possibilities available to you, let’s explore how to play, download, and share these recordings.
Either:
Playing, Downloading, and Sharing a Teams Recording (Bubbles):
- Go to your Bubbles Notetaker area and click on the meeting recording you want to view.
- Now, you will find yourself within your Teams recording. Press play to view the recording or look through the transcript on the right. To share the recording, click the blue "Share" button in the top right corner.
- To download your Teams meeting recording on Bubbles, click on the ellipsis in the top right corner and then click download. Super simple, super efficient, and super secure.
Or:
Playing, Downloading, and Sharing a Teams Recording (MS Teams):
- Open Microsoft Teams and go to the meeting chat or channel where the recording is stored.
- Click on the recording thumbnail to play it directly within Teams.
- Navigate to the OneDrive or SharePoint folder where the recording is saved.
- Right-click on the recording and select "Download" to save the video to your device.
- In OneDrive or SharePoint, click the "Share" button next to the recording file.
- Copy the link and share it with other team members, or send the link directly via email.
Troubleshooting Common Issues with Teams Recordings
If you encounter any issues with Teams recordings, here are some common troubleshooting tips:
Recording Not Available Immediately:
Teams recordings can take a little while to process, depending on the length of the meeting. If the recording doesn’t appear right away, give it some time to process. If you don't want to wait, you could always try using Bubbles, which will have your recording ready within minutes. After all, time management is crucial, so don't let this hold you up.
Participants Can’t Access the Recording:
Ensure the permissions are correctly set in OneDrive or SharePoint. If participants still can’t access the recording, double-check the sharing settings or resend the link.
Recording Storage Limitations:
For users on a OneDrive or SharePoint plan, storage capacity can become an issue. If you’re running out of space, consider backing up old recordings to a different storage location or deleting unnecessary files.
Teams Recordings Expiry Time:
If you use Teams' recording features, your recordings will expire after a period of time that can be set by the IT admin. As a default, the expiry time for staff and students is 90 days, and 30 days for Associates. However, if you don't want your recordings to expire at all, you can use Bubbles, where you can have unlimited recordings and unlimited storage.
Conclusion
Knowing where your Teams recordings are stored and how to access them is obviously essential for keeping your meetings organized. While OneDrive and SharePoint are the default storage locations for Microsoft Teams, we recommend using Bubbles for a more streamlined experience. With its automatic recording, transcription, and post-meeting summary features, Bubbles takes the hassle out of managing your Teams meetings.
By staying organized and leveraging the right tools, you can make the most out of your Teams meetings and ensure that important information is always accessible.
Collaborate better with your team
Get your point across using screen, video, and audio messages. Bubbles is free, and offers unlimited recordings with a click of a button.
.avif)


Collaborate better with your team
Get your point across using screen, video, and audio messages. Bubbles is free, and offers unlimited recordings with a click of a button.
.avif)