Google Meet Transcription: Free Methods for Calls + Recordings
If Google Meet is your go-to online meeting platform, you should know all the tips and tricks to enhance your experience. Today, we start with transcribing your meetings to ensure you never miss important details again.

Knowing how to transcribe Google Meet meetings and recordings is an essential piece of knowledge to have in your arsenal. By doing so, you are going to greatly improve productivity throughout your team and individually, by making sure access to the meeting discussions and action items is ever-present.
With this in mind, we wanted to put together a guide for how you can effortlessly record and transcribe Google Meet meetings for free. By the end of this, you will be all set when it comes to optimizing the way you Google Meet.
Does Google Meet have Transcription
The short answer is yes, but there are some strings attached here that lead me to believe that Google Meet’s own transcription feature is currently underwhelming. However, I want to clarify that these aren’t claims pulled out of thin air by myself. Instead, if we visit Google’s own page about Google Meet transcription, we can learn things like how “Meeting transcripts of languages other than English aren't accurate”, and how transcription through Google Meet itself is reserved only for paying customers.
Check towards the end for a walkthrough of this method, and further explanation, but these pitfalls have led me to find an alternative method of transcribing Google Meet, which will be my first recommendation. Let’s get into it.
How to Transcribe Google Meet Meetings
Our first method is using Bubbles to transcribe your Google Meet calls. Not only is Bubbles free, but a recent testimony that I found from a user review on Youtube explained how “accurate” and “extraordinarily precise” Bubbles Notetaker was in its transcription of an hour long video call.
The process from reading this, to Bubbles joining your next Google Meet meeting is quick. Here is a step-by-step guide.
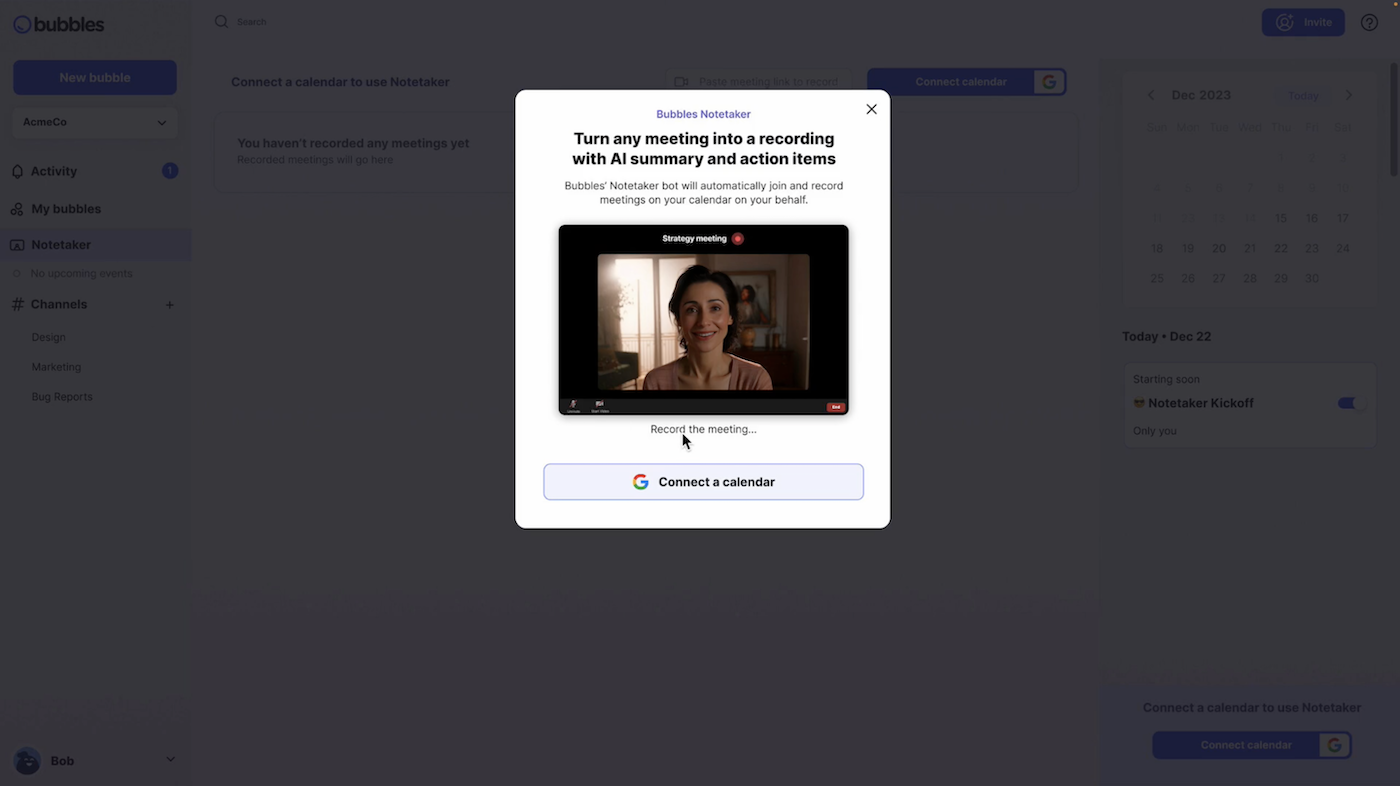
Step 1: Sign Up for Bubbles
Start by visiting the Bubbles app and creating a free account. This will allow you access to the Bubbles Notetaker, among other features. During the sign-up process, you'll be asked to set up a Bubbles workspace and link your calendar. Complete these steps to ensure your upcoming Google Meet meetings sync with the Bubbles Notetaker. By doing this, the Notetaker will automatically join and transcribe your meetings without any additional action required from you.
Also, consider getting Bubbles by installing the Bubbles Chrome or Edge extension from the Chrome/Edge Web Store (still free).
Step 2: Schedule Your Google Meet Meeting
Schedule your Google Meet meeting as you normally would. If you connected your calendar in the previous step, then you are good to go. If you did not, then you can use the meeting link to get your transcription going, so have it ready to paste into your Notetaker area.

Step 3: Start Your Meeting
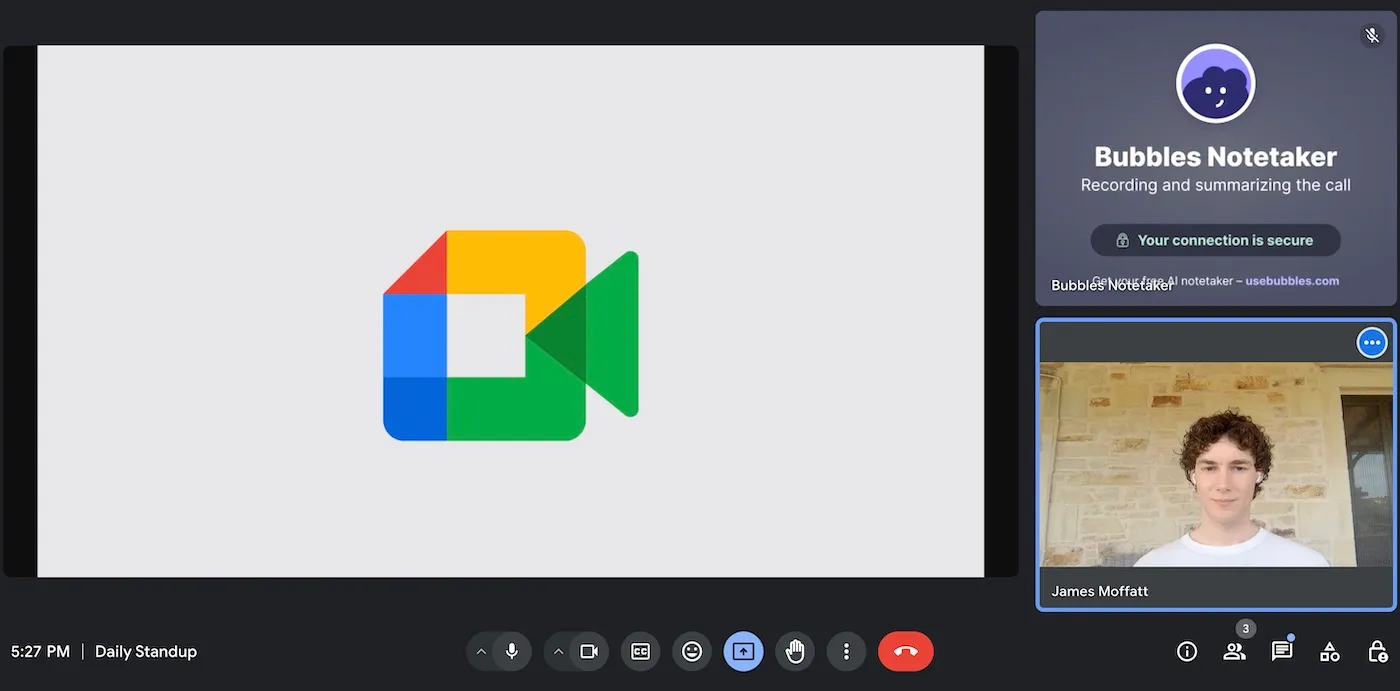
When your meeting starts, Bubbles will automatically join, record, and transcribe the discussion. Conduct your meeting as usual without any additional steps. Below, we have given you an example of what it will look like to have Bubbles in your Google Meet meetings. Note here that by upgrading to Bubbles pro, you will be able to remove all Bubbles branding in the meeting room.
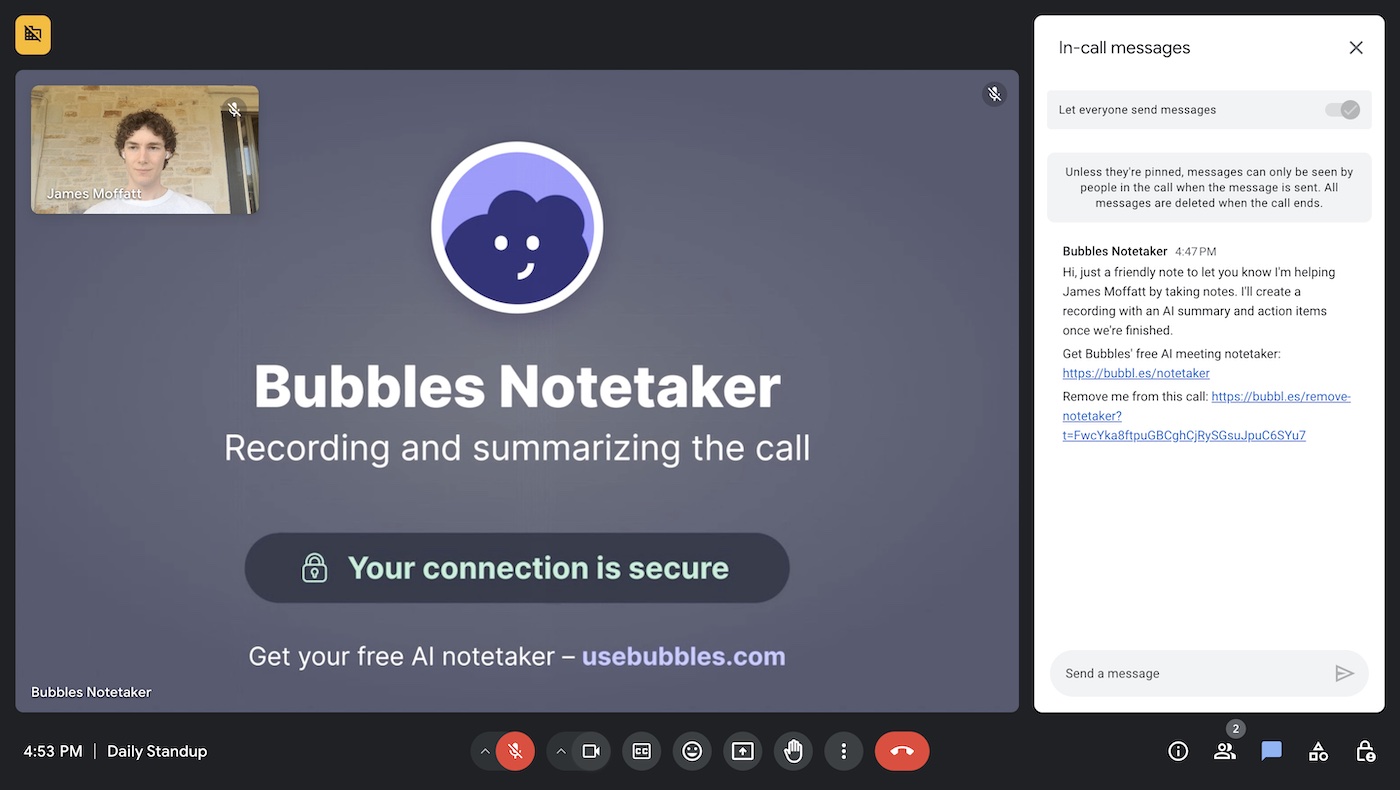
As shown on the right side of the screen, your Bubbles Notetaker will inform all attendees of its identity and purpose.
Step 4: Access the Transcription
After your Google Meet meeting, Bubbles will process the recording and send you a follow-up email containing a link to the recording "bubble," along with automatically detected action items and a summary to quickly jog your memory. The transcription will be accessible within your meeting recording bubble. From here, you are free to review, edit, and share it with your team as you desire.
If you want an example of how your Google Meet meeting transcription will look like when you use Bubbles, check this out:
Make your
meetings matter
Loved and trusted by 100,000+ users:
- Automatically Record and Transcribe Meetings
- Extremely Accurate Notes, Summaries, and Action Items powered by AI
- Works with Zoom, Google Meet, and Microsoft Teams
- Save time and follow-up with quick async videos
Simply connect your work Google or Microsoft Calendar to get started.

How Else Does Bubbles Help?
Screen Recorder and Comment Section
Bubbles’ screen recorder allows you to capture detailed explanations of ideas without disrupting other team members. You can simply record a bubble in response to your Google Meet recording or transcript, and keep the communication going. Keeping all communication in one place within your Notetaker recording comment section also helps to maintain clarity during the project lifecycle.
Transcribing Google Meet Recordings
If you've recorded a Google Meet meeting and need to transcribe it, follow these steps to do so with Bubbles:
- Upload the Recording: Sign in to your Bubbles account and start a new bubble recording
- Select the File: Locate and upload the Google Meet recording file from your device to use as the content of your new bubble. You can simply drag and drop it. Refer to the image below if you need guidance.
- Process the Transcription: Bubbles will handle the recording, processing it and creating a complete transcription.
- Review and Share: Find the transcription of your Google Meet recording in your “My bubbles” section.
How to Turn On Transcription in Google Meet
As mentioned earlier, Google Meet also offers a built-in transcription feature. The first thing to note here is that transcription isn’t available to all users on Google Meet. In actuality, you need to be on one of these plans to have access to the transcription feature:
- Business Standard
- Business Plus
- Enterprise Starter
- Enterprise Standard
- Enterprise Plus
- Teaching & Learning Upgrade
- Education Plus
However, here’s how you can enable and use it if you still desire to do so:
- Start the Meeting: On your computer, join or start a meeting in Google Meet.
- Start Transcription: At the bottom right, click on "Activities," then "Transcripts," and finally, "Start Transcription."
- Verify Transcription Status: Once transcription is active, a Transcripts icon will appear at the top left for all meeting participants.
- Receive the Transcript: After the meeting ends, an automated email with a link to the meeting transcript will be sent to the host, any co-hosts, and the person who turned on the transcription. Remember, Google Meet does not automatically save transcriptions. To keep a record, use Bubbles or another transcription tool for post-meeting documentation.
Conclusion
Transcribing your Google Meet meetings and recordings is your best option when it comes to keeping track of important discussions. Bubbles provides a straightforward, hassle-free, and cost-free solution for recording and transcribing your Google Meet sessions, delivering comprehensive notes and actionable items. While Google Meet has a built-in transcription feature, it’s typically only available for paid business accounts, and also lacks detail in terms of multi-language transcription etc. With this in mind, make sure you are enjoying seamless transcribing with Bubbles!
Collaborate better with your team
Get your point across using screen, video, and audio messages. Bubbles is free, and offers unlimited recordings with a click of a button.
.png)


Collaborate better with your team
Get your point across using screen, video, and audio messages. Bubbles is free, and offers unlimited recordings with a click of a button.


